


This brake drum replacement guide walks you through replacing a worn brake drum on a heavy-duty truck, from identifying signs of damage to verifying that the braking system operates correctly before the truck returns to service. During braking, the drum is subjected to significant heat and braking forces, making regular inspections essential for commercial vehicle safety. In this guide, SONNY BOSCO covers replacement signs, essential tools, safe removal, installation, and final safety checks for technicians and fleet managers.
When Should You Replace a Truck Brake Drum?
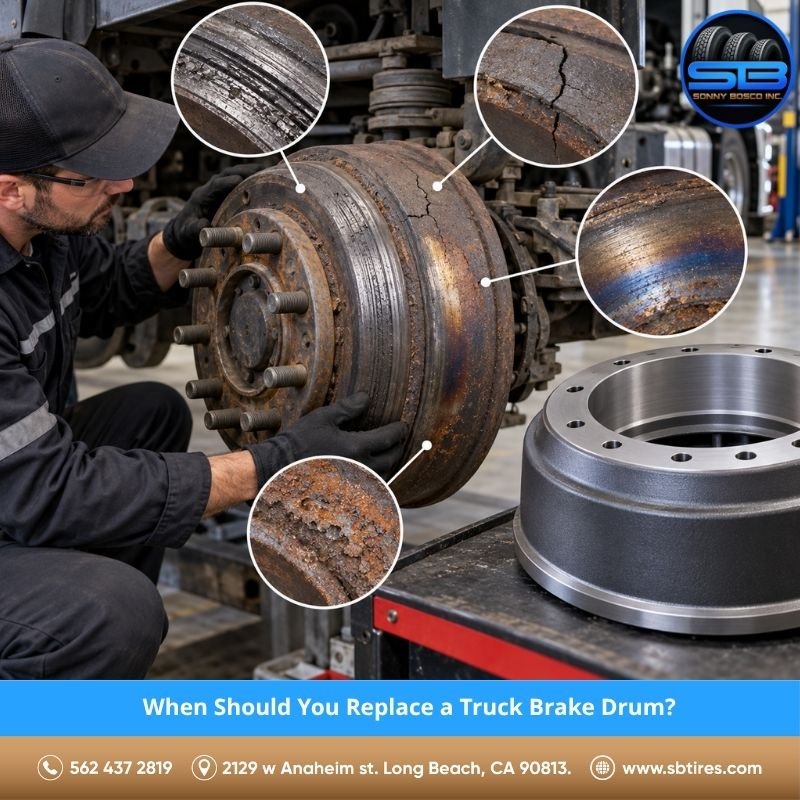
A truck brake drum should be replaced when an inspection identifies damage or wear beyond the manufacturer’s allowable limits. Common signs and conditions include:
- Visible cracks: Cracked brake drums require replacement. Minor surface heat checks should be evaluated according to the manufacturer’s inspection criteria.
- Maximum diameter reached: The drum’s internal diameter meets or exceeds the manufacturer’s specified discard limit.
- Out-of-round wear: Measurements around the friction surface exceed the manufacturer’s allowable tolerance.
- Severe heat damage: Blue discoloration, hard spots, or glazing may indicate overheating and require further inspection.
- Deep scoring: Heavy grooves can reduce brake lining contact and affect braking performance.
- Noise, vibration, or pulling: These symptoms may indicate brake problems that require inspection to identify the underlying cause.
Brake Drum Replacement Guide: Tools and Safety Precautions
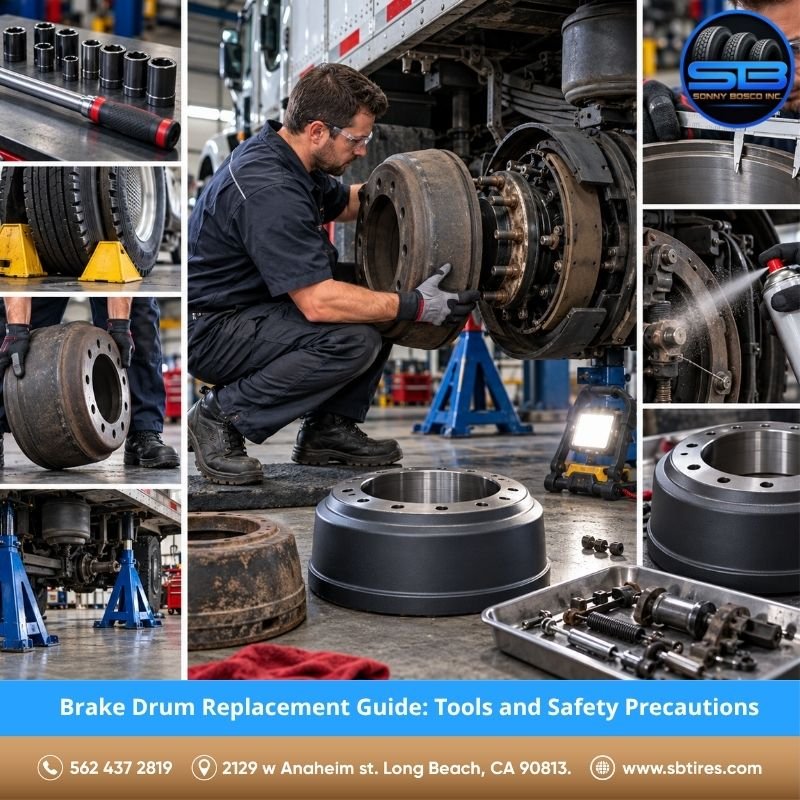
Before starting a brake drum replacement guide procedure, prepare the necessary tools and follow the safety requirements for heavy-duty air brake systems. Proper preparation helps prevent injuries and reduces the risk of damaging brake components.
- Lifting equipment: Use a properly rated jack or vehicle lift and safety stands. Never rely on a jack alone to support the truck.
- Wheel chocks and removal tools: Prepare wheel chocks, suitable wheel removal tools, and a wheel dolly for handling heavy wheel assemblies.
- Torque wrench and drum gauge: Use a calibrated torque wrench and an accurate brake drum gauge to check fastener torque and drum dimensions.
- Spring brake handling: Follow the manufacturer’s procedures for safely releasing the parking brake and caging spring brake chambers when required.
- Brake dust control: Use an approved HEPA vacuum system or appropriate low-pressure wet cleaning method. Avoid compressed air and dry brushing.
- Correct replacement parts: Confirm that the replacement brake drum and mounting hardware match the truck’s axle and brake system specifications.
Brake Drum Replacement Guide: 5 Steps for Heavy-Duty Trucks
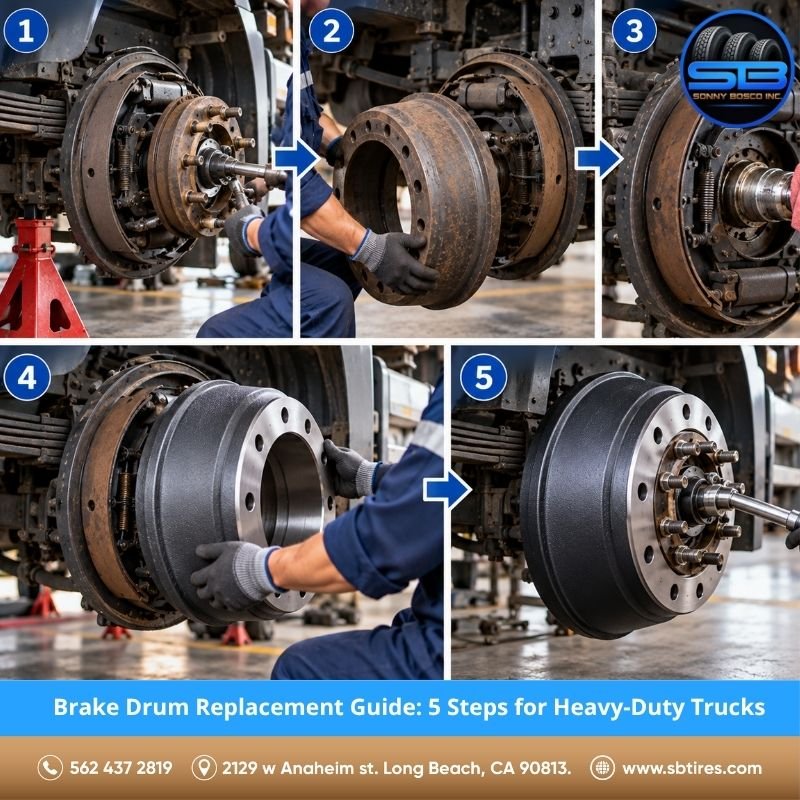
The following brake drum replacement steps explain the general procedure for trucks equipped with S-cam air drum brakes. Exact removal, installation, and adjustment requirements vary depending on the vehicle, axle, and brake system manufacturer.
Step 1: Secure the Truck and Remove the Wheel Assembly
Park the truck on firm, level ground and secure it with wheel chocks. Follow the manufacturer’s spring brake release or caging procedure as required for the wheel end being serviced.
Use properly rated lifting equipment to raise and support the axle. Once the truck is safely supported, remove the wheel fasteners and use a wheel dolly to remove the heavy wheel assembly.
Step 2: Back Off the Brakes and Remove the Old Drum
Check whether the brake shoes need additional clearance before removing the drum. If necessary, back off the brake adjustment mechanism according to the slack adjuster manufacturer’s instructions.
Remove the applicable retaining hardware and carefully separate the drum from the hub. Depending on the mounting configuration, additional hub disassembly may be required.
If the drum is stuck, inspect for corrosion or interference before using an approved removal tool. Avoid excessive force that could damage the hub or surrounding components.
Step 3: Inspect Brake Shoes, Hardware, and Hub Components
After removing the drum, inspect the brake assembly for worn, damaged, or contaminated components.
- Brake shoes: Check lining thickness, uneven wear, cracks, and oil or grease contamination.
- Return springs and rollers: Look for broken, weakened, or damaged components.
- S-cam mechanism: Inspect the camshaft, bushings, and related hardware for excessive wear or binding.
- Hub surfaces: Check mounting surfaces for corrosion, damage, and contamination.
- Wheel seals: Look for signs of oil or grease leakage that could affect braking performance.
Step 4: Install the New Brake Drum
Verify that the replacement drum meets the truck’s required specifications, including diameter, braking surface width, mounting configuration, and compatible part number.
Clean the hub mounting surfaces and inspect the new drum for shipping damage or defects. Position the replacement drum according to its mounting design and make sure it seats correctly.
Keep the drum’s friction surface free of oil, grease, and other contaminants that could affect braking performance.
Step 5: Reassemble the Wheel and Check Brake Adjustment
Reinstall the wheel assembly and mounting hardware according to the vehicle manufacturer’s service procedure. Tighten wheel fasteners in the specified sequence and to the correct torque.
Verify brake adjustment using the approved procedure for the installed slack adjuster and foundation brake system. Check brake shoe clearance, wheel rotation, and brake operation before returning the truck to service.
Note: Automatic slack adjusters should not be manually adjusted simply to correct excessive pushrod stroke. Recurring adjustment problems require inspection of the brake system and related components.
How to Inspect a New Brake Drum After Installation
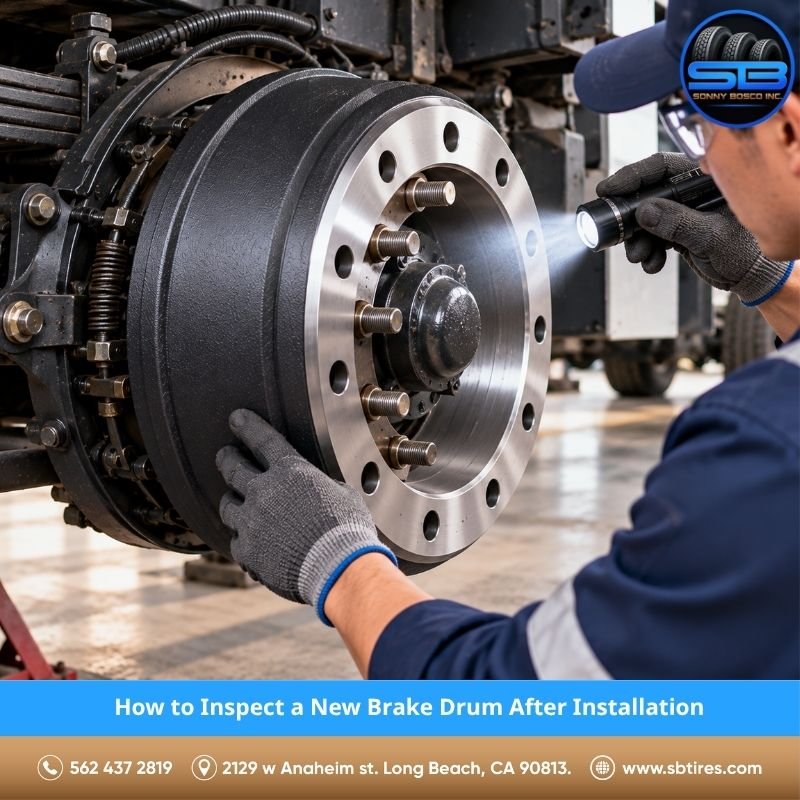
The brake drum replacement process is not complete until the wheel end passes the required safety checks. These inspections help identify installation problems before the truck returns to normal operation.
- Drum seating: Confirm that the drum is correctly positioned against the hub or mounting surface, with no visible gaps or interference.
- Fastener torque: Verify that wheel fasteners and applicable mounting hardware meet the manufacturer’s torque specifications.
- Free rotation: Rotate the wheel to check for abnormal brake drag, unusual noises, or interference with surrounding components.
- Air system: Check air pressure buildup, leaks, and proper operation of the service and parking brakes.
- Brake stroke: Measure pushrod stroke and compare it with the applicable limit for the brake chamber configuration.
- Road test: Perform a controlled low-speed road test only after all required shop inspections pass. Check for unusual noises, brake pull, vibration, or excessive heating afterward.
Common Brake Drum Replacement Problems and How to Fix Them
Problems can occur during removal or after installation if the replacement drum is incorrectly fitted, adjusted, or inspected. The table below highlights common issues, possible causes, and recommended checks.
| Problem | Possible Cause | Recommended Action |
| Brake drum stuck on hub | Corrosion, worn drum lip, or insufficient brake shoe clearance | Check brake adjustment, inspect mounting surfaces, and use an approved drum removal tool. |
| Brake dragging after replacement | Incorrect adjustment or binding hardware | Inspect the slack adjuster, S-cam mechanism, rollers, and brake shoe movement. |
| Grinding noise after installation | Incorrect fitment or component interference | Verify the replacement part number and inspect surrounding components for contact. |
| Uneven brake performance | Brake imbalance, worn linings, or mechanical defects | Compare brake stroke measurements and inspect the brake components on both sides of the axle. |
| Excessive drum temperature | Brake drag, incorrect adjustment, or other brake system faults | Compare wheel-end temperatures and inspect the brake release mechanism and related components. |
Brake Drum Replacement Tips for Commercial Truck Fleets
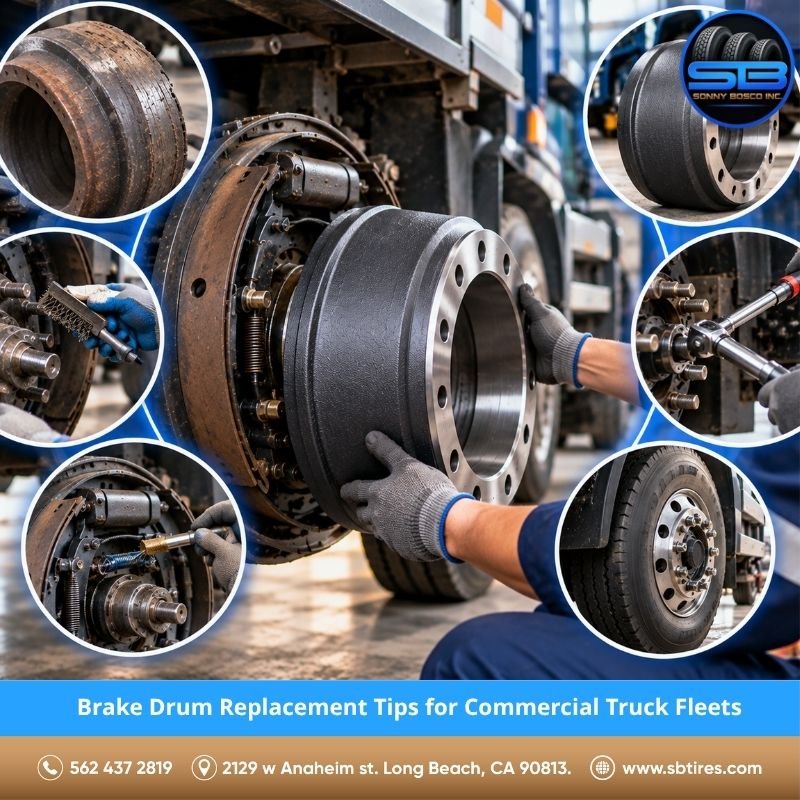
Fleet managers can reduce unexpected brake repairs and vehicle downtime by selecting compatible replacement parts and following a consistent preventive maintenance schedule.
- Match specifications: Verify drum diameter, braking surface width, bolt pattern, and mounting configuration before ordering replacement parts.
- Use OEM part numbers: Confirm compatibility using axle specifications and original equipment part numbers rather than appearance alone.
- Consider replacing drums in pairs: Matching drums on the same axle may help maintain consistent braking performance, especially when both show significant wear. Follow manufacturer recommendations.
- Inspect during preventive maintenance: Include visual brake drum inspections and measurements when required by the maintenance schedule or observed condition.
- Investigate adjustment issues: Identify the underlying cause when a wheel end repeatedly develops brake adjustment problems.
- Keep vehicle records: Track drum measurements, inspections, and replacement history to identify recurring issues across the fleet.
Frequently Asked Questions About Brake Drum Replacement
How often should brake drums be replaced on heavy-duty trucks?
There is no fixed replacement interval. Brake drums should be replaced when inspections reveal cracks, excessive wear, or damage beyond manufacturer specifications.
Can you replace a brake drum without replacing the brake shoes?
Yes, you can replace a brake drum without replacing the brake shoes if the existing shoes meet manufacturer specifications and show no excessive wear, damage, or contamination.
Should brake drums be replaced in pairs?
Replacing brake drums in pairs is generally recommended to help maintain balanced braking performance. However, always follow the vehicle manufacturer’s recommendations.
How do you remove a stuck brake drum?
Secure the truck, follow the manufacturer’s spring brake safety procedures, and back off the brake adjustment mechanism if required. Use an approved drum puller to remove the stuck drum without damaging surrounding components.
Can a worn brake drum be resurfaced instead of replaced?
Some brake drums can be resurfaced if the manufacturer permits it and the drum remains within machining limits. Cracked or excessively worn drums must be replaced.
What happens if a brake drum exceeds its maximum diameter?
An oversized brake drum may experience reduced heat dissipation, cracking, and poor braking performance. Replace it immediately if its diameter exceeds the manufacturer’s specified limit.
Following this brake drum replacement guide helps you recognize when a drum needs replacement, select compatible parts, complete the installation safely, and verify proper brake operation afterward. For heavy-duty air brake systems, always follow manufacturer instructions for torque specifications, brake adjustment, and spring brake handling. SONNY BOSCO hopes this guide helps technicians and fleet managers maintain safer, more reliable commercial trucks. Visit SONNY BOSCO for more practical information about commercial truck tires and heavy-duty truck parts.


